How do I sign up for Amazon and become a seller?

In this article, we’ll go into detail on how to properly register as a seller on Amazon to ensure a long-term and successful business.
My name is Vyacheslav Molodetsky and I am a marketer at TimePro Global. We provide Amazon sales optimization services for clients around the world.
Let’s get started creating an Amazon Seller account! I will show you the whole process step by step.
4 Secrets to successfully signing up for an Amazon Seller account

- Take your time: Mistakes are often caused by rushing. Fill out all the details carefully and check them before submitting.
- Data as in documents: Fill in all data exactly as it is written in your official documents, including spaces and characters.
- Separate email and phone: Create a new email account and use a separate phone number for business correspondence.
- Prepare everything in advance To ensure that the incorporation process goes smoothly, it’s important to gather all the necessary documents and data in advance. Here’s what you’ll need:

- Email: Create a separate email specifically for the account so that you don’t confuse personal and business messages.
- Phone number: This number will be used to receive confirmations and messages from Amazon, so make sure it’s active.
- Passport or driver’s license: A document that proves your identity.
- Tax number: To process your tax details and interact with tax authorities.
- Bank Card: You’ll need a card with a minimum of $40 in your account to pay for a professional account subscription.
If you register as a company:

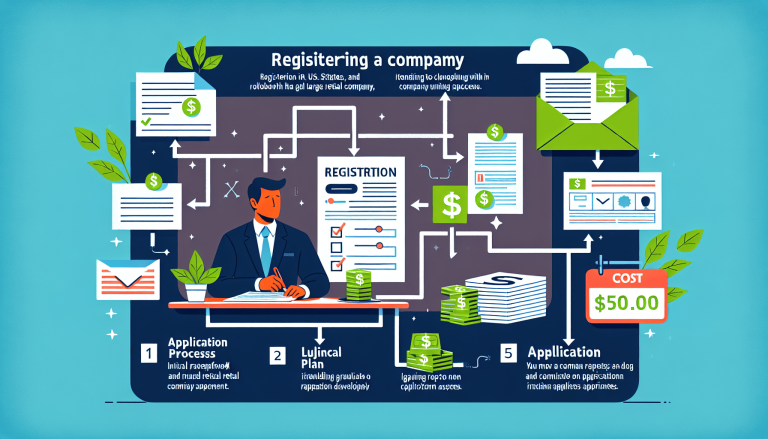
If registering with Amazon as a company, you will need to prepare the following additional documents and data:
- Company Registration Documents: This can be the Articles of Incorporation, Certificate of Incorporation or other official documents that prove the legal status of your company.
- Company Tax Number: Required for proper tax information and compliance.
- U.S. address: Even if your company is registered in another country, a U.S. address may be required for some categories of sellers.
Part 2: The Registration Process
Signing up for Amazon Seller Central is a key step to starting your business on the platform. Here’s a step-by-step process to help you set up your seller account correctly.
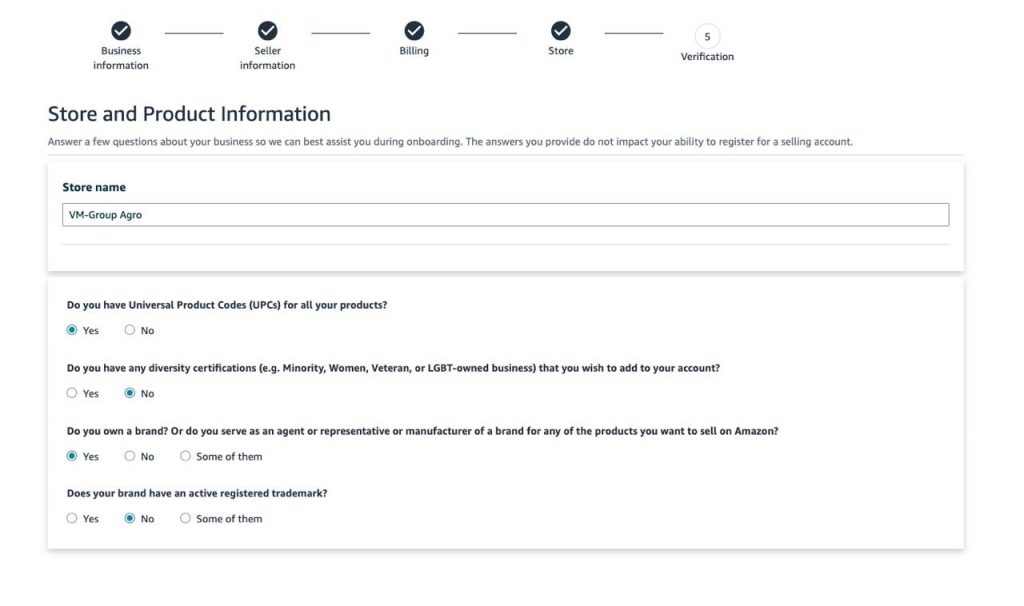
- Step one
Open Google and type in the query “Start Selling with Amazon”. From the search results, select the official Amazon Seller Central page and proceed to start the signup process.
- Business Information
In this step, you need to provide basic information about your company. Enter the full name of the company, its legal address, phone number and Employer Identification Number (EIN) if you are registering as a legal entity. This data will be used for tax reporting and interaction with Amazon.
- Seller Information
Next, you need to fill in your details as the owner or responsible party. Include your passport or driver’s license information, as well as a current phone number to receive notifications and confirmations from Amazon. It’s important that the information matches official documents.
- Connecting your bank card
To pay Amazon platform fees (for example, if you’ve chosen a professional account) and receive funds from sales, you’ll need to link a bank card. Enter the actual details of the card that will be used for these purposes. Make sure you have enough funds in your account to cover the initial fees (usually $39.99 for a professional account).
- Store Description
Come up with a unique name for your store on Amazon. This name will be displayed to customers, so try to choose something memorable and reflective of your brand. Also, specify what products you intend to sell so Amazon can offer you relevant categories and recommendations.
- Verification
The final step is to verify your identity and company details. Amazon may request additional documents to verify your registration, such as a copy of your passport or company bylaws. The verification process may take a few days, after which you will receive a notification that your registration is complete and you can start selling.

Part 3: Important Tips
The process of signing up for Amazon requires care, and there are a few important points that will help you avoid mistakes.
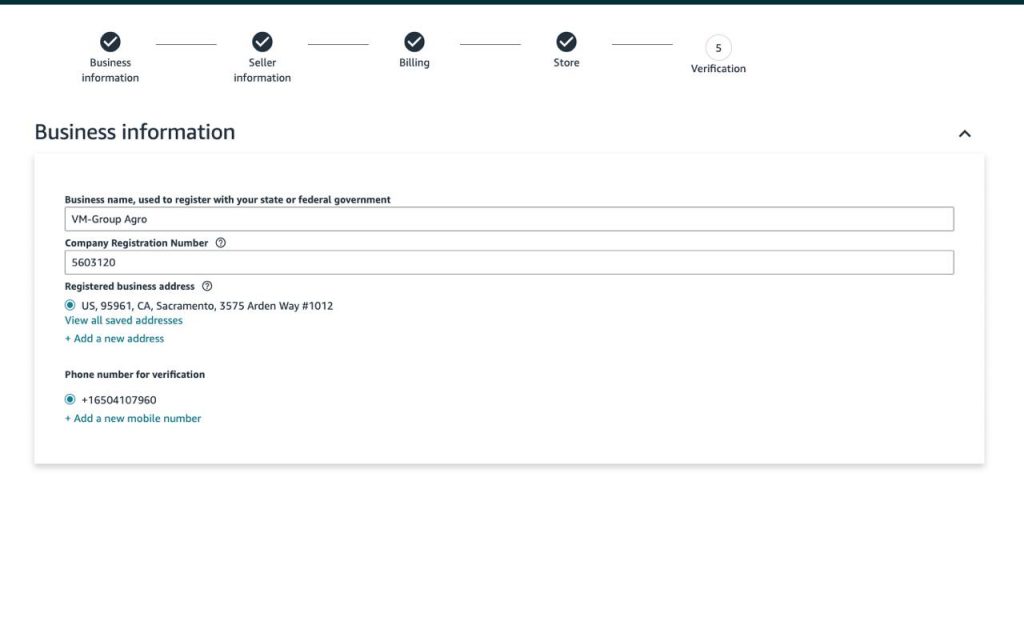
- Take your time
Mistakes often happen when sellers are in a hurry to fill out a form. Carefully check each field before submitting to avoid having to make corrections later. This will save you time and prevent delays in the registration process.
- Data as in the documents
All data must be entered exactly as it appears on your official documents. This applies to spaces and punctuation marks as well. Any discrepancies can cause verification problems, resulting in a delay in account creation.
- Separate email
For convenience, it is better to create a new email specifically for your Amazon Seller account. This will help separate business and personal messages and streamline communication with the platform.
Part 4: Conclusion

Once all the registration steps are completed, all that’s left is to wait for your account to be verified. This process may take a few days, but once it’s complete, you’ll be able to start selling on Amazon. We wish you success with your new business on the platform!
Did our tips help you? Support us with a like! It doesn’t require much effort on your part, but is a great support for us. Also subscribe to our Telegram and WhatsApp – you’ll find even more useful information there.
Don’t want to spend time on all the details of Amazon account registration? Contact TimePro Global experts who will help you through the registration process quickly and easily!


